Finally, after a couple of weeks of tinkering off and on with the European PlayStation 3 I wound up with, the system was ready for home and the modding process.
Let’s go over one more time just what I had: The system is a launch era European market PlayStation 3. This means it has partial-hardware comparability with PlayStation 2 software, as no European systems ever had full hardware support. This is still better than no hardware support at all, however, as came later (hence why the system no longer supported games from disc, instead opting only for select titles purchased digitally.) The power supply had been swapped for one able to support United States mains power and the machine had been tested enough to know it wasn’t going to at least instantly fail on me. I considered it as good as I’d likely get for no cost whatsoever a machine to mess with.

So, the system was here, ready to go, but there was one problem — I didn’t have a clue what the hell I was doing! While I’ve occasionally read a bit on the nature of things and at least understood the basic principles, the actual nuance around installing “Custom Firmware” to the PlayStation 3 was a mystery to me.
Enter, of course, YouTube. I very quickly found a video which seemed to go over the process in a way that worked for me, done almost more like a presentation than the typical “let me talk while I do this” video that many make. It caught my attention enough for me to follow it, and I quickly ran into issues.
To SUPER simplify the process explained in the video, the whole process went, basically, as follows:
- 1: Install “HFW” — “hybrid” firmware which is only slightly modified to allow a certain exploit to be run.
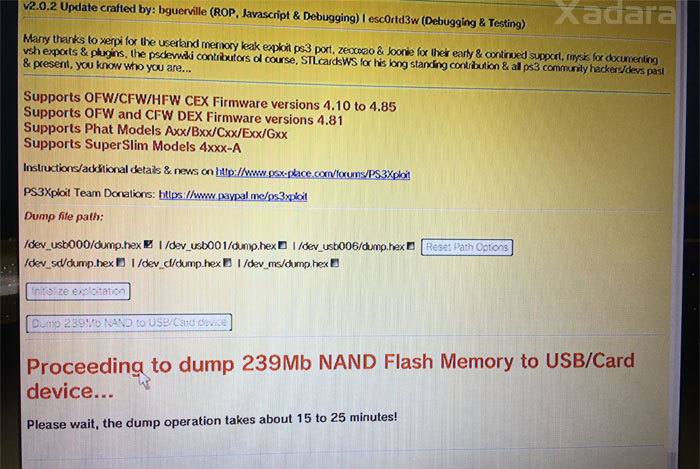
- 2: open the PlayStation 3 web browser to back up the system flash, then update the system flash with a new file allowing you to install the fully hacked “custom firmware”
- 3: Install said custom firmware and enjoy the modded system.
It’s seriously that easy, but there was a problem — the video didn’t totally explain what all was going on. Being the tech inclined person I am, I like to understand what is going on while I do the action, and I missed some details in the video which, were the steps explained, likely wouldn’t have happened.
That’s a side problem though, as I ran into a non-starter when I began the process; I couldn’t get the “HFW” to install!
A trip into PlayStation 3 Safe Mode allowed me to do that — you can always force install current or later firmware in that mode, and the “HFW” took without issue.
Then came step 2; the flash issue. This is where the steps not being explained came into play — I missed the part where the onboard flash was updated (super “noob” mistake, I admit) and was wondering why the CFW install wasn’t taking. Once I noticed that step, things went smooth. Like I said, if the video was segmented and explained what each step was, it would have been that bit better. Of course, I could have gone to another video, but I was already this invested — why give up now right?

So, ignoring all my goofs, by the end of things I succeeded and, honestly, was kind of disappointed in what I saw. The CFW that was provided with this method was called “OVERFLOW” and it didn’t impress me.
Let me explain that it was totally functional; at least, as best I can tell. What I didn’t like was the fact it was so heavily changed from the stock PlayStation 3 operating system. It opened with a Resident Evil audio clip (a series I care nothing for) and just wasn’t my cup of tea, as they say.
Now, again: this was my first actual step diving into this process. I didn’t know for sure if the method used forced me to install only this or if I could go with any options. This is where the entire process finally “made sense” to me, as I thought back to what had happened and realized, all I did was install the HFW, update core files to allow me to install CFW, and install a particular “flavor” if you will, of CFW.
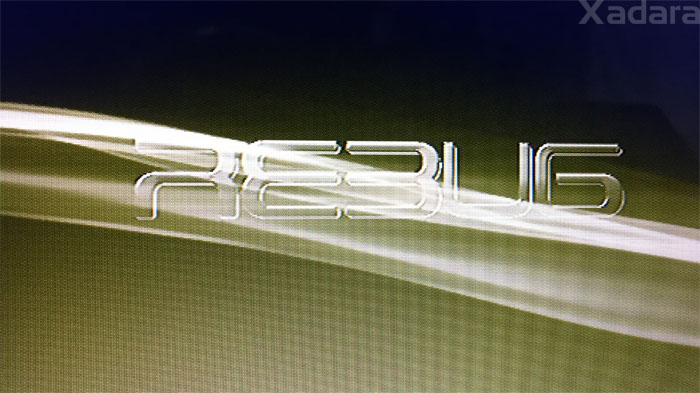
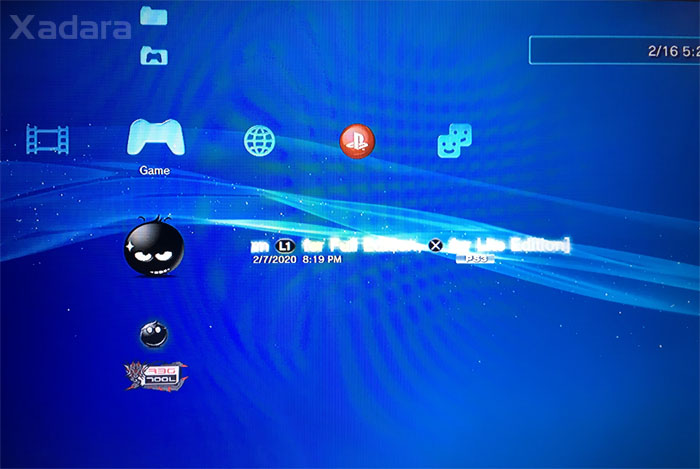
So, a quick search for “PS3 CFW most like stock OS” lead me to a few posts online discussing “Rebug.” I took a look and was instantly impressed with what I saw in both the CFW itself and the additional tools provided, and the way everything was set up in it. It was, needless to say, clean looking, sensible, but still capable.

So I said screw it, downloaded and installed it and that, shall we say, was that — I had found exactly what I wanted for the system – a nearly stock looking custom firmware which still provided me with options. Give me only what I need to get started and nothing else special.
Combine that with “WebMAN Mod” and that’s that — the system was what I wanted it to be.
This leads me to ask one question: Why do so many developers of custom software for game consoles insist on customizing it beyond where necessary? No, seriously, that whole Resident Evil startup thing for “Overflow” wasn’t the first time I’ve seen such deep changes done to a system when there’s just no need. I get giving it some unique flair but Rebug looks pretty much stock at first glance — even on boot. That’s the way it should be.
Next up, some final thoughts on this whole exercise.

DISCLAIMER: I do not in any capacity encourage software piracy. This topic is being discussed here as a subject of tech interest and not being shared as a guide to or as a promotion of piracy — in a sense, it’s simply a documentation of my experience in conducting a software modification on an atypical console model to have in the United States.

1 Comment
Add a Comment